Transfer Tape Properties - What Do I Need?
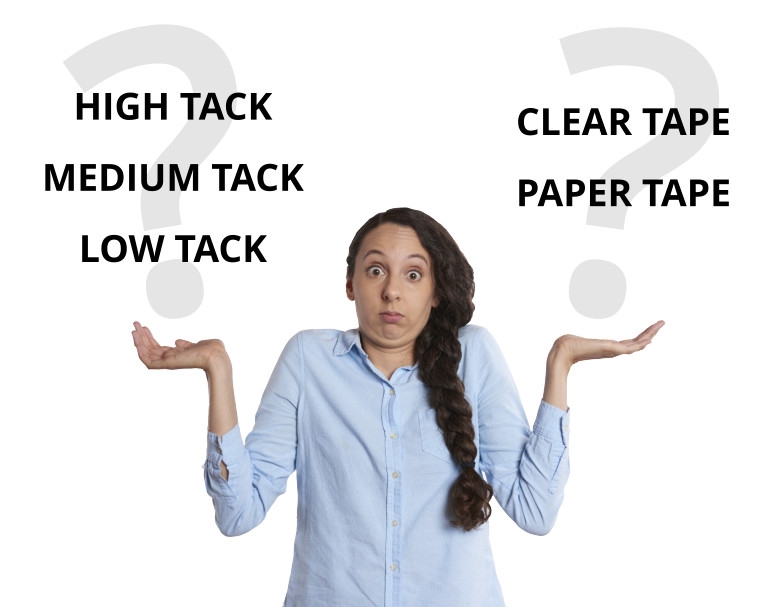
There seems no end to the options of what transfer tape to use with what vinyl or for what application. If you caught the last post on the various tapes we carry at Express Sign Products, and you’re newer to the world of vinyl, you may have been wondering what on earth the different tacks are all about, or what the difference is between paper or clear tape, and what combination of factors works best in what situations. Well, on this post we are going to once again dive into the wonderful kaleidoscope of vinyl transfer tape. Once we are done, you should have a much better idea what tape you need for what project.
Adhesive: High Tack vs. Medium Tack vs. Low Tack
The various tacks are simply references to how sticky the tape is. If you think about your average roll of masking tape from Staples, all vinyl transfer tape will be a lower tack. Average, home-use masking tape is simply too sticky. You want the tape to be able to pull the vinyl off its backing without too much difficulty, but to also leave the vinyl stuck to whatever you are applying it to without pulling it off.
Of course, the stickiness of transfer tape runs along a spectrum, and one brand’s medium tack will not totally line up with another brand’s version, but some general rules apply.
Low Tack
If you are applying a larger graphic (a few feet by a few feet), you’ll want a low tack tape. Because of the larger surface area of vinyl the tape will be grabbing onto you won’t need as strong an adhesive to pull the vinyl off its backing. It can also add rigidity to large vinyl pieces, such as printed vehicle graphics, keeping the vinyl from flopping around too much.
Medium Tack
If you are working with an average size decal (6” to 24” long on each side), medium tack is what you are looking for. This is by far the most common tack level we sell. It will get a good hold on the vinyl to remove it from its backing yet won’t be too difficult to remove when the vinyl is applied to the surface. It is just a good all-round tack.
High Tack
If you are needing to apply vinyl with fine detailed cut outs, try high tack tape. It will be able to grab the small, fiddly bits. That said, high tack tape can also be helpful on textured surfaces like carbon fiber and etched glass or matte finish vinyls. Oracal vinyls often seem a bit harder to remove from their backing, so high tack tape can be helpful for beginners getting a feel for what works.
The best bet with all of these is this. Once you have applied the vinyl to the project surface and thoroughly squeegeed all the bubbles out of it, leave the tape and vinyl on the surface over night and remove the tape the next day. This will give your vinyl plenty of time to adhere to the surface and reduce the chance of the tape pulling up the edges.
Material: Paper vs. Clear
Now that you have a handle on the varying levels of tack your transfer tape can come in, let’s take a look at paper versus clear tape.
Going back to our illustration on Staples-style masking tape, paper tape will look like something you could buy at any local stationary store. Again, the stickiness of general use masking tape is far too strong for vinyl application, so don’t mix the two up. But, that gives you a pretty good idea what you are working with.
Paper
Paper is the most commonly used form of transfer tape. It does its job, isn’t overly expensive, and is translucent enough that you can line it up adequately for most applications. Unlike the vinyl it’s stuck to, it will not stretch at all. This keeps the vinyl graphic from stretching and deforming. Lastly, it tears by itself – no knife needed. Usually that’s a blessing, occasionally that’s a curse.
Clear
Clear transfer tape is exactly that, clear, or at least mostly clear. This iteration of transfer tape tends to be tougher than paper tape and less prone to tearing. It has a slight amount of stretchiness, which can be useful when installing vinyl on curved surfaces such as vehicles. This stuff is great if you really need to make sure your vinyl lines up with other vinyl already applied to a surface or to other features. Some even come with grid lines to make application more accurate yet. If you need to put down layers of cut vinyl or want to make sure it is laid down perfectly in line with an edge, this is a great option.
Another component of the whole application process is whether you are wanting to do dry or wet application. The wet application technique is especially helpful with larger installs. To keep this post relatively short though, we will save that discussion for a coming post.
So, for now, enjoy sorting out which tape will work best for you. Maybe try a couple different brands to see if one or the other works better for you. And please remember: do not shop for transfer tape at Staples. Trust me, you will thank us for the advice.
Transfer Tape Properties In Brief
• Tack Level
◦ Low Tack
▪ Large graphics
▪ Printed graphics
◦ Medium Tack
▪ Medium sized graphics
▪ Most popular
◦ High Tack
▪ Small graphics
▪ Good for beginners
▪ Textured surfaces and matte finish vinyl
• Material
◦ Paper
▪ Economical
▪ Zero stretch
◦ Clear
▪ Excellent alignment
▪ Slightly stretchy






All comments